Drawing Processing Part 3 - Batch Link
Part 3 of Drawing Processing is the final step in a processed set of drawings. Here you will learn to use Bluebeam’s most widely known tool, Batch Linking
Batch Linking
Now that the drawings are all set up, we can finally get into the final step which is to hyper link all the callouts. Fortunately, Bluebeam’s Batch Hyperlink tool will do most of the work for us.
- Start with a blank Bluebeam window (Nothing should be open at this time
- In the Ribbon go to
File --> Batch --> Link --> New
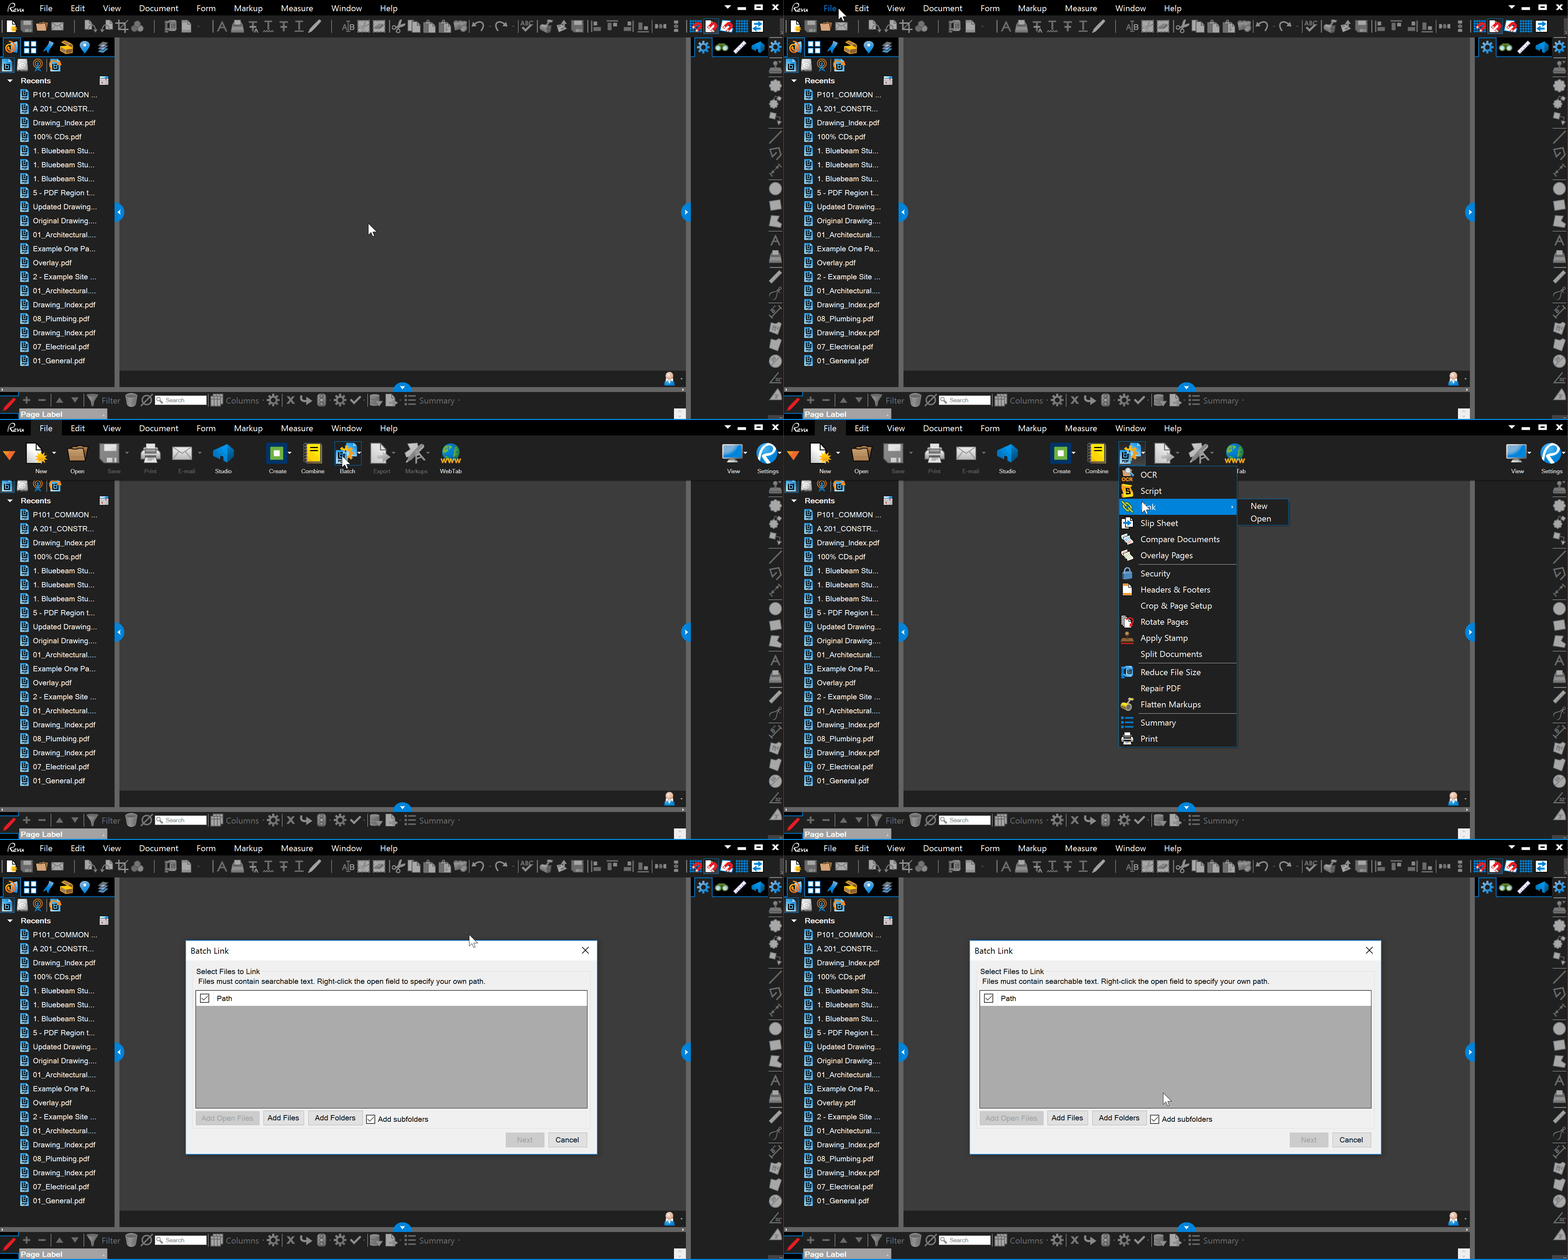
- Click on
Add Foldersand select the whole folder which contains the drawings (Do not select subfolders separately) - Press ‘Next’

- Select the
FileNameradio button to search by FileName - Click on Settings
- Set Filter Mode to
First from Start - Use an underscore
_as the filter character

- Set Filter Mode to
- In Part 1, we added a footer with “INDEX”. Now we will change our Custom Index Dashboard that we created with the RXDS Indexer, to the word INDEX. See below:
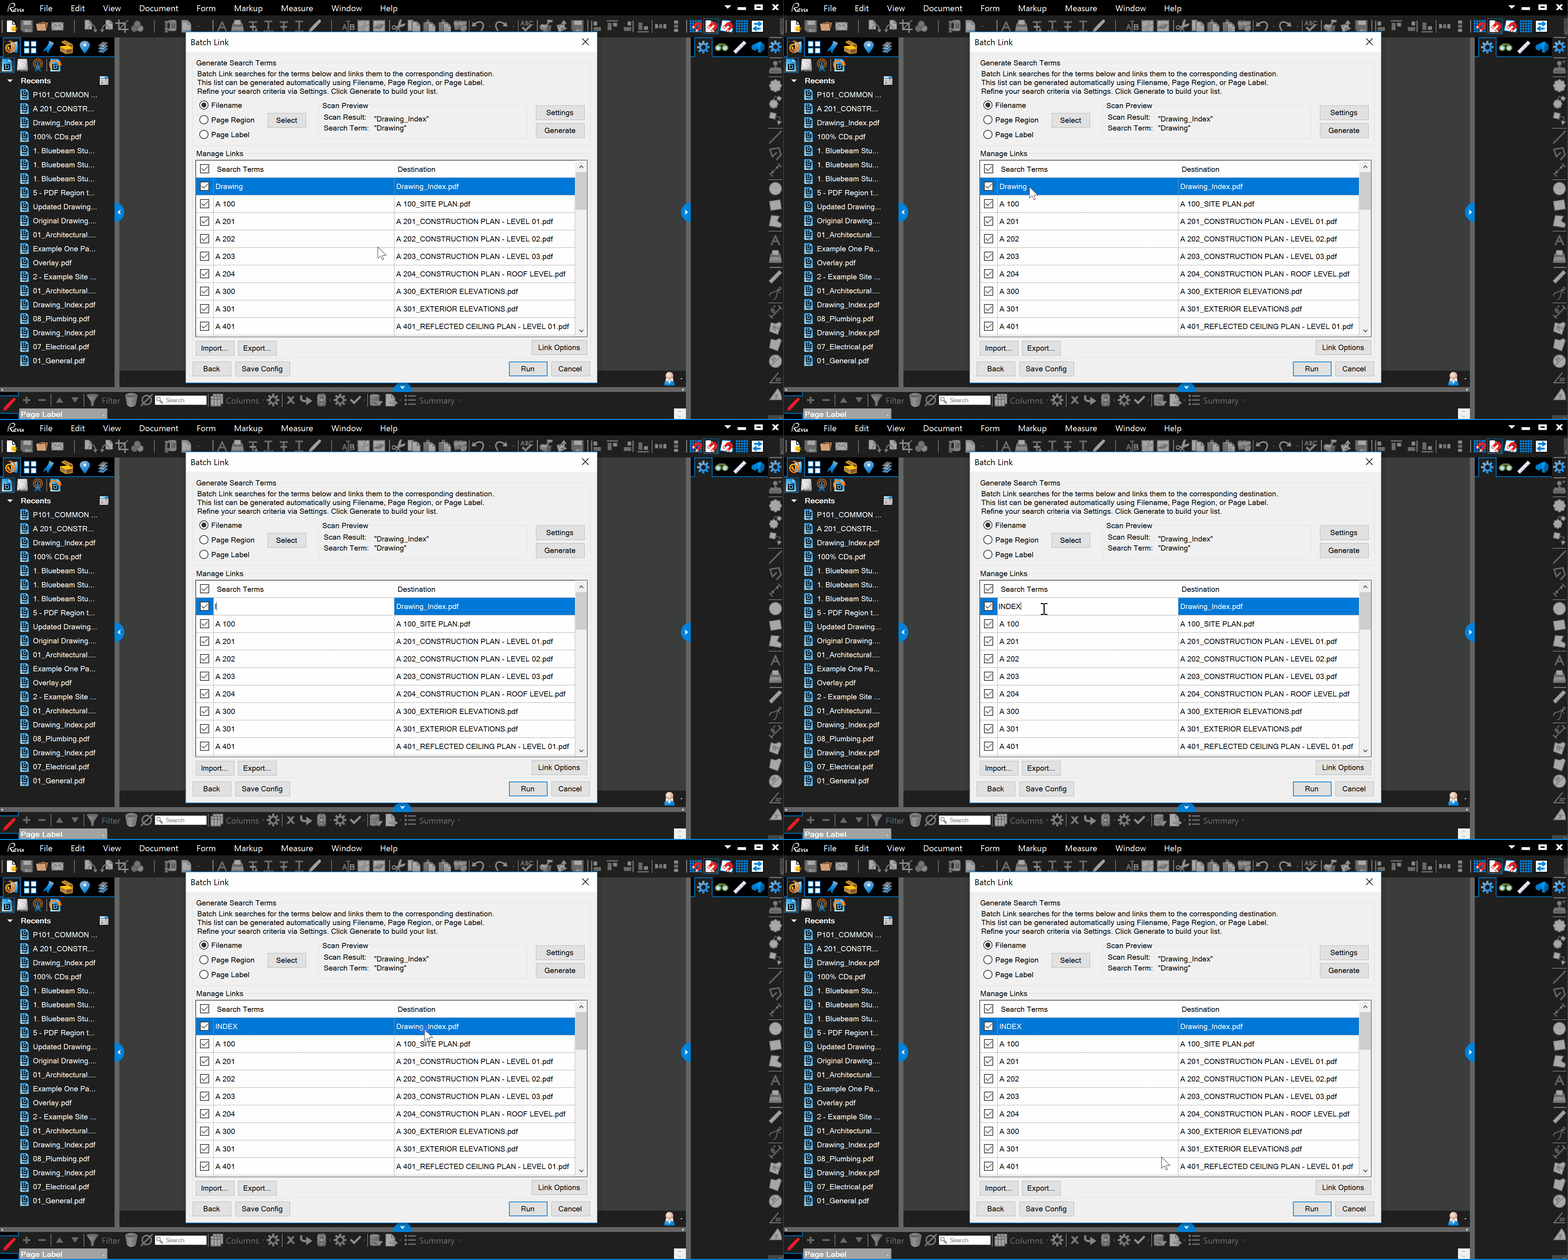
- IMPORTANT!!! Because our Custom INDEX was already linked using the RXDS Indexer, we do not want to relink it using Bluebeams Batch Link tool. For this reason we will go back and Uncheck it
- Click
Back - Right click on the First Line Item, which is the Main Folder which holds our Custom Index, and select
Uncheck - Press
Next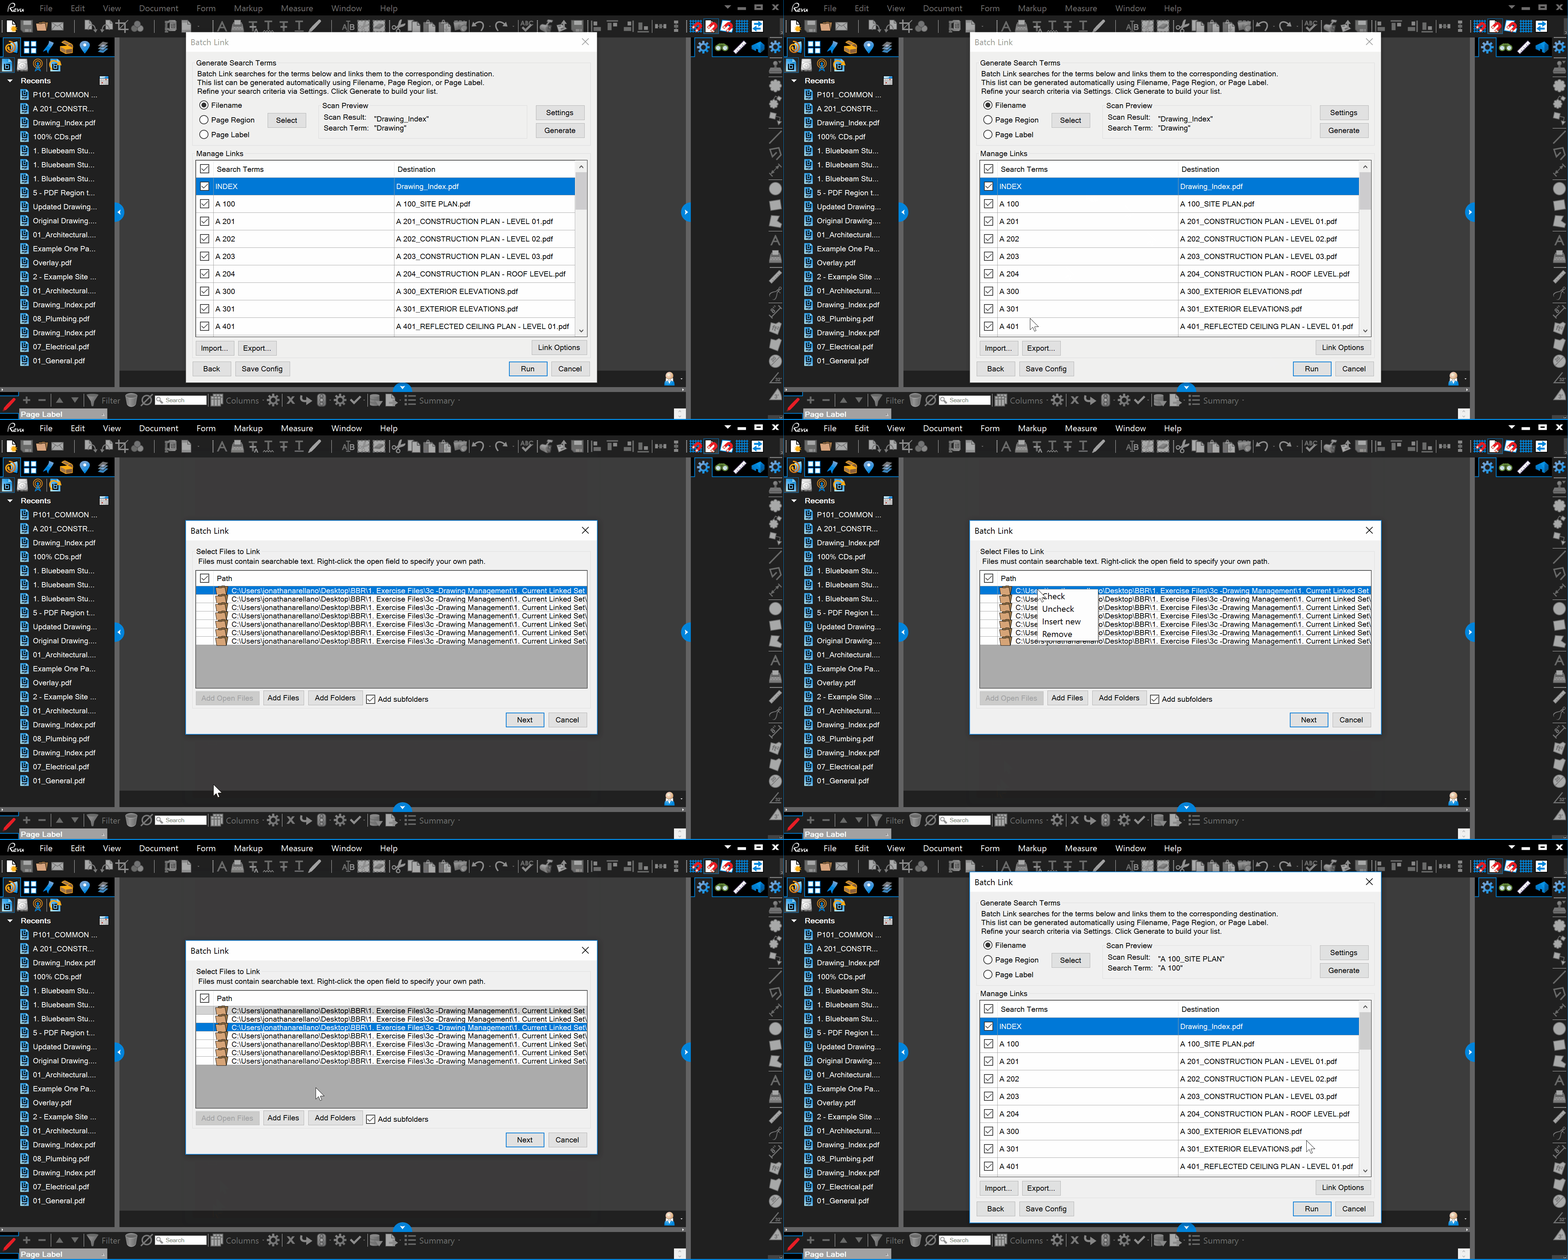
- Click
- Set link options by clicking on
Link Options. See below for RXDS Standard Settings
- Press
Runand let Bluebeam Process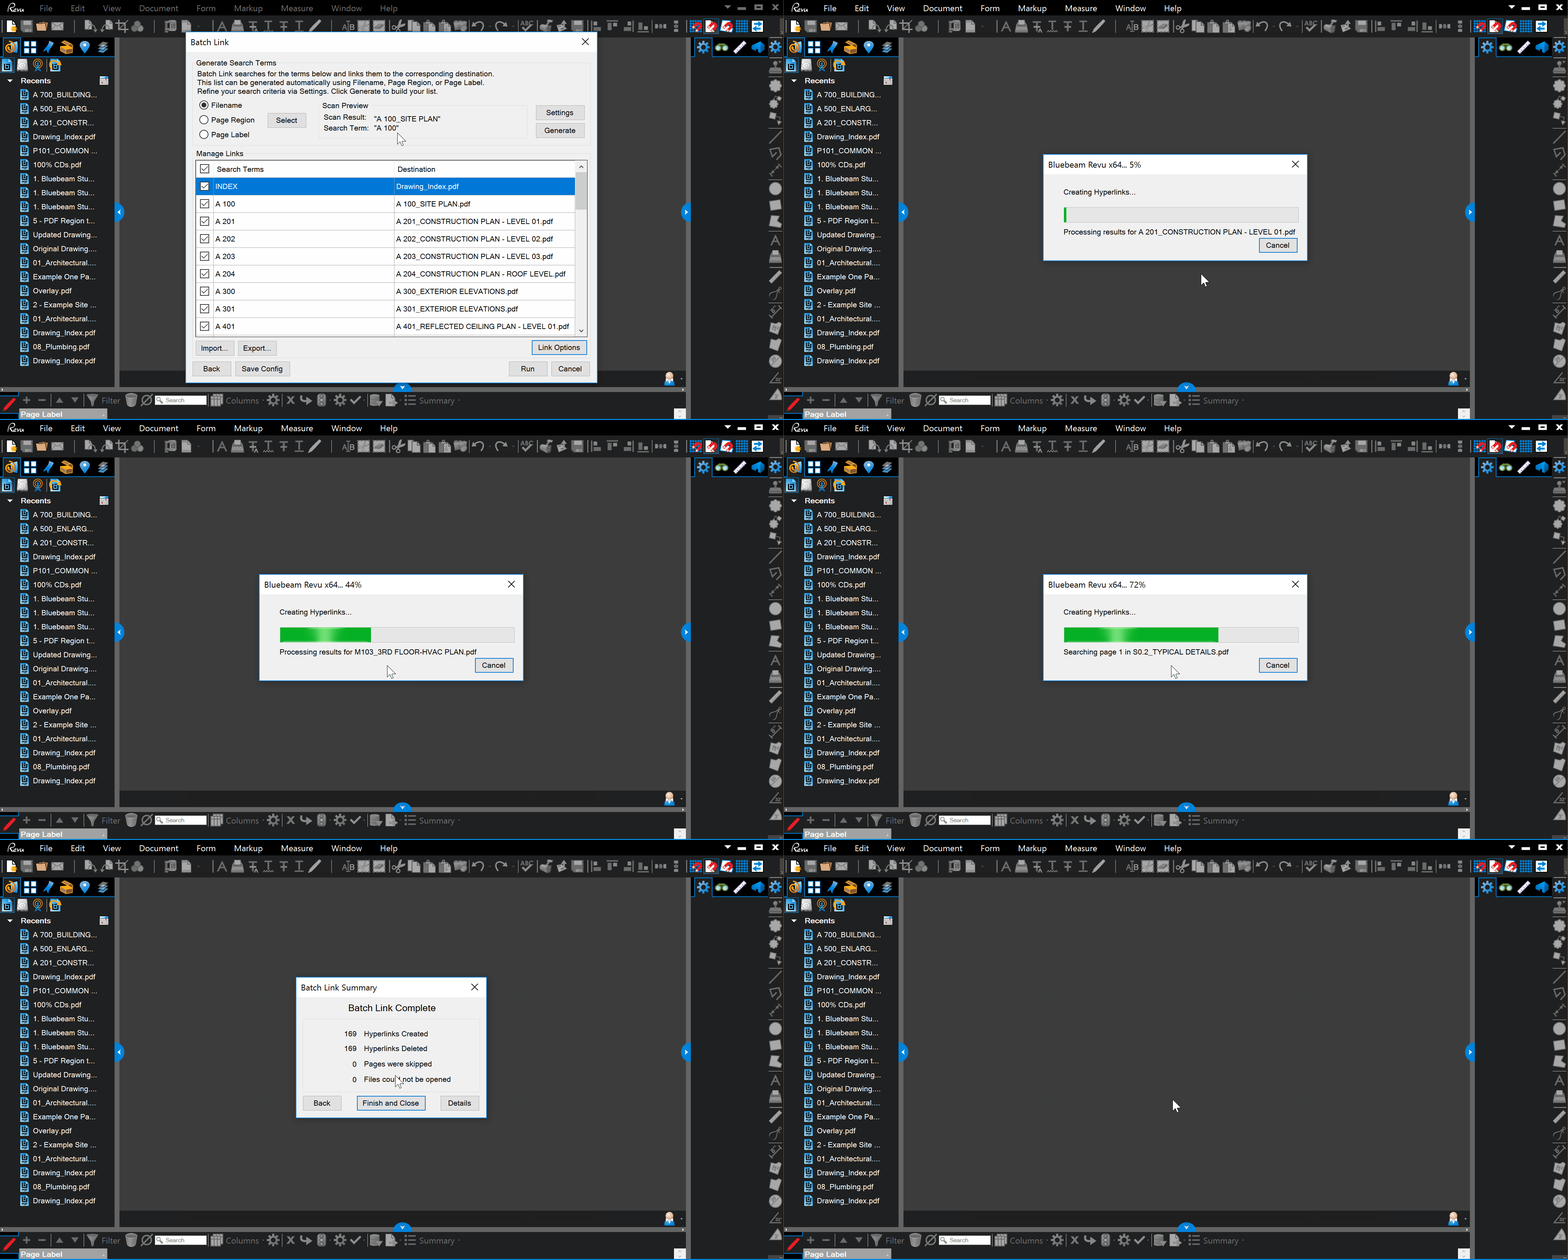
Finished
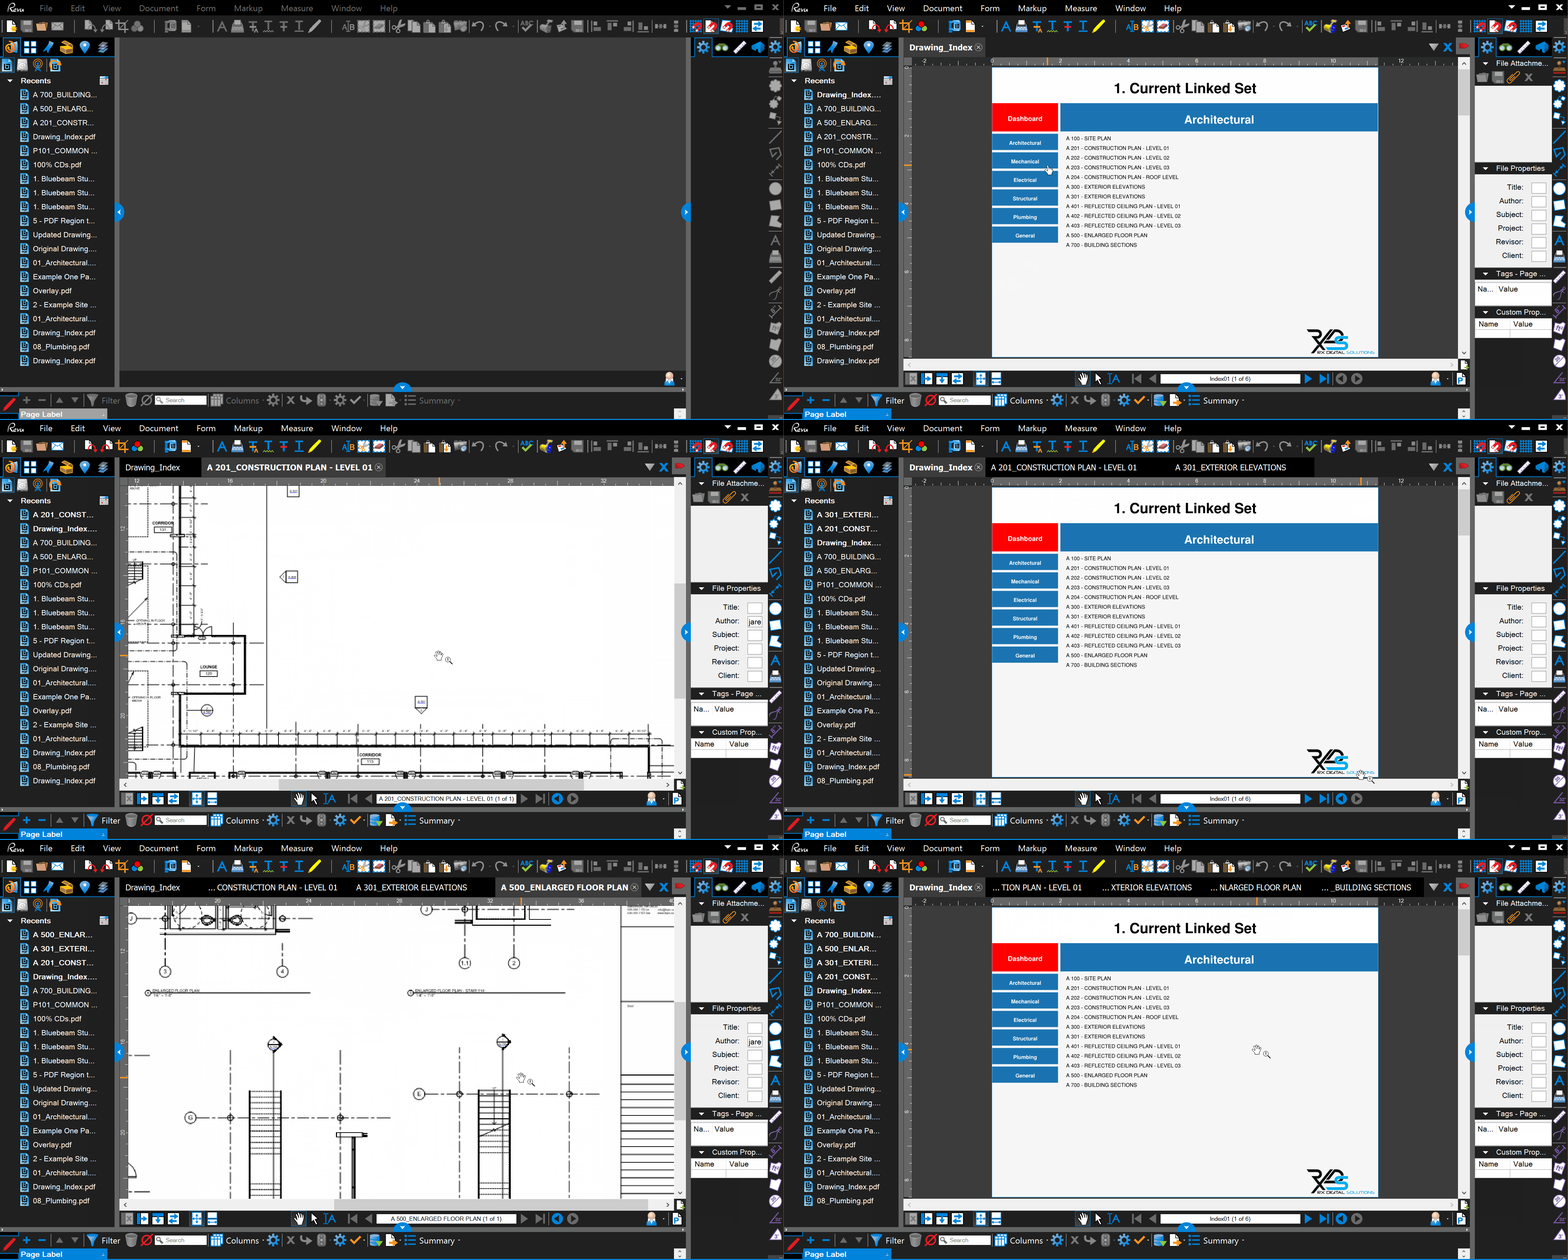
At this point your drawings have been linked but you will want to open up the Drawing_Index.pdf and double check a few pages to make sure:
- your Index works
- callouts got linked
- INDEX footer takes you back to the index
